Tuesday, December 4, 2012

Getting our Christmas Tree (2012)

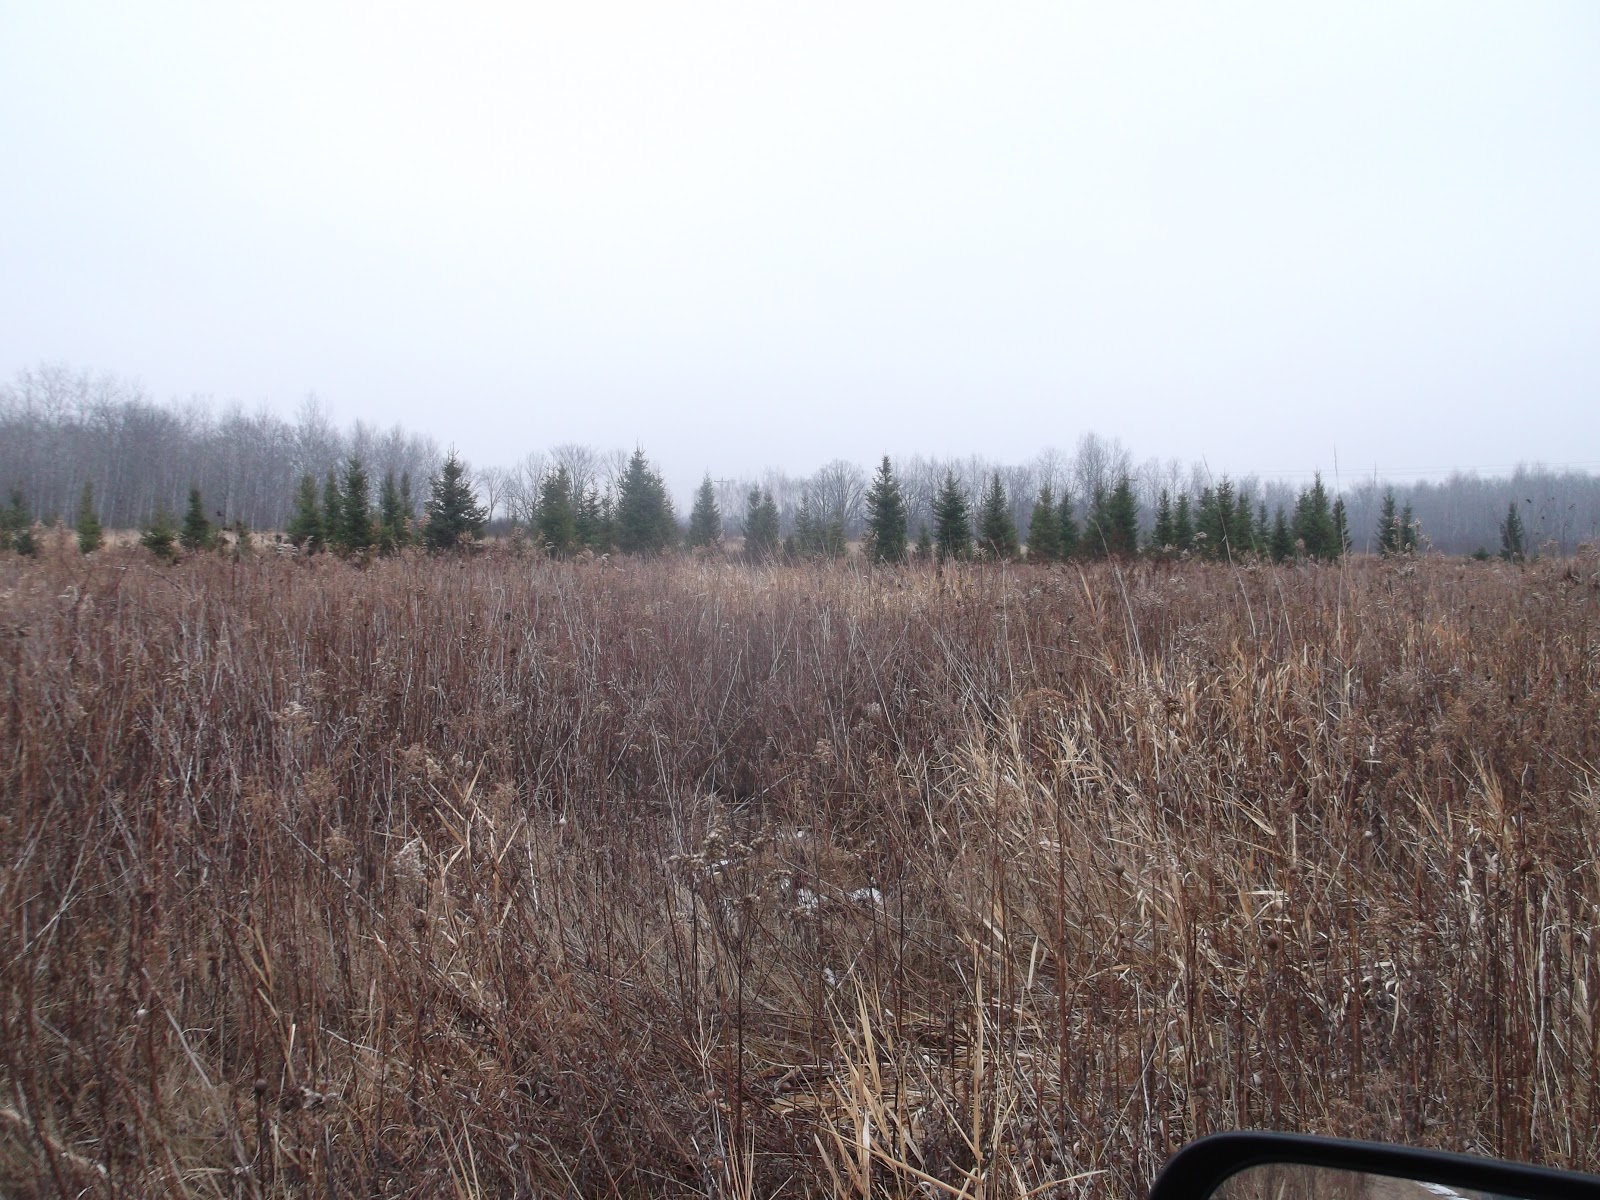
We wanted to get a Balsum Fir for our Christmas Tree this year. We went to a tree farm in Mora, MN and he had some, but not at his farm. They were on his hunting land a few miles away. So, he gave us the directions and off we went.


It was a nice day (43 degrees).


Teenagers?

The whole family in front of the tree that we wanted to cut.

All the kids got a turn at cutting down the tree. I started with Katja.

Then Caleb

Then Cole


Then Madelyn

Nathaniel and I carried it out to the truck.


We paid 25.00 for the tree.

One big toaster

One of the advantages of using a wood stove for heat is, it makes a great toaster. You can toast a whole loaf at one time. They toast nice and even, and it is fast. Sometime to fast and then it burns, win some loose some. 

The wood stove also works like a crock pot for soup and other foods that you want to keep hot for a while. We place our coffee pot on the stove so that we have hot coffee all day. 

Monday, December 3, 2012

Fresh garden veggies

I picked the garden at least once per week. This was one of the pickings. Sometimes the garden produced better than others.
I have started using more and more baskets in the garden. I like the look and feel of them. Also they are cheap at garage sales and second hand stores.

Rebuilding the wall

After the wind took down the wall, we got right to staking it up again. Trace and I were able to restack the wall in about 4 hours.

This time the wall went up fast and straight. I was much happier with it the second time through.

The last block.

Notice all the damaged block corners from thier big fall.

Happy? Oh, yeah!

Finished with the dry stacking and ready to core fill. After we finish core filling we I will surface bond the wall.


Not bad for a few rookies.


Wednesday, November 28, 2012

?

I want to explain to some of you, some of these posts are way out of order. I originally planned to track the building progress as it happened, but life got real busy tring to get the house ready to be lived in. I did not blog for about a year. I still was taking pictures for most of it, but was not blogging it. Now, I am trying to do catch up and yet I still want to post current events in our lives. So, sorry if there is any confusion. Let me know if there is any questions you have, and I will answer them the best I can. I also want to asure you that I will fill in the blanks of the build process as I can.

Filling in potholes

In an effort to save money, we have never developed a driveway. We simply have driven on the field and made it work. Recently it has become VERY rough, and needs some attention. I still do not have the money to build the driveway to the condition that it needs to be, but I do have a dirt pile a shovel and Mountian Dew (for energy).


I am just filling in the low spots.

Building the front door

One of the many things I did not get to before we moved in was build the doors. So, since March of last year (2012) we have had a sheet of 1/2" OSB as a door. With the weather getting colder now we have decided that a door would be nice to have (less drafty). I considered buying a door, but I really wanted to build one.

The house is sided with rough sawn cedar and the inside will be pine, and I would like the door to match both. 

Another plus to building a door is that if something goes wrong with it, I can fix it.

I had to start by finishing the rough opening. Agian, I wanted cedar on the outside and pine on the inside. 

I had a problem with nails backing out of the cedar siding, so now I use stainless steel trim screws to hold the siding on.
I used these screws to build the door as well.

This is the finished opening. It is hard to tell but the inside is pine and from the door stop out is rough sawn cedar.

I hung plastic over the door to try and keep some heat in. I could have done this in the summer, but the would have made to much sence.


Prepairing the windows for stain and varnish.

I applied the stain with a cloth. I go over all the surfaces twice. Then leave the stain set for a few minutes. Next, I whipe off any extra stain. Once the stain has dried I apply a coat of varnish, then let it dry. I then sand the first coat and apply a final coat of varnish.

The core for the door is a piece of 1/2" plywood.

I then added rough sawn tongue and groove cedar to the outside of the door.

The cedar is glued and screwed to the plywood core. The glue is weather proof.


On the inside I used tongue and groove pine. Agian, I glued them.

This is the outside of the door. I wanted to use galvanized pipe for door handles, but I could not make it work how I wanted.

This is the inside.

The door is hung.

This is how you would see it when comming to visit.